Key Takeaways
- Optimizing your playspace and lighting can greatly enhance your Meta Quest 3 experience for better mixed-reality passthrough and tracking accuracy.
- Consider turning on hand tracking for more flexibility in MR, even if you don’t plan on using it often.
- Consider upgrading your comfort with a more comfortable head strap and improving audio quality with purpose-built earbuds for ultimate immersion.
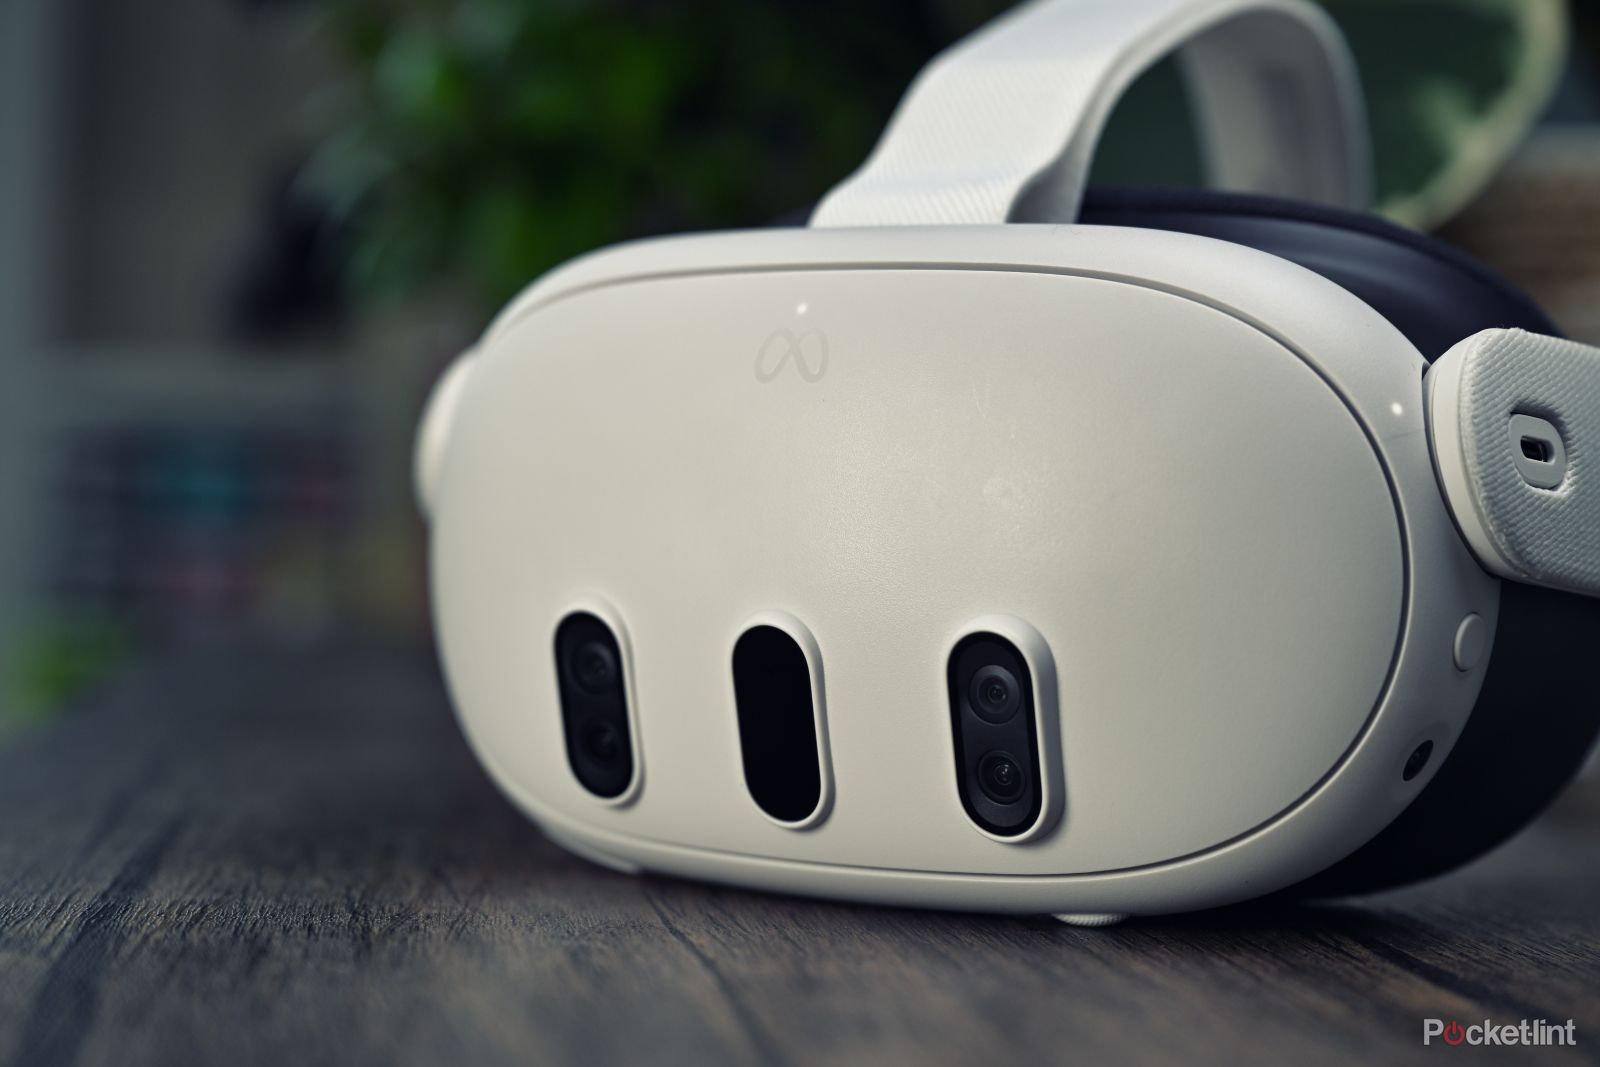
The Meta Quest 3 is a brilliant VR headset, but there are a few simple things you can do to make it even better. With this guide, we’ll tell you how you can make your Quest 3 experience as good as possible.
So, get your headset charged up and make sure it’s updated, then we’ll dive in and see how you can make the most of it.
How to connect Meta Quest 3 or Quest 2 to a PC
The Meta Quest headsets are a great way to enjoy VR gaming on a PC, here’s how to get started.
1 Optimize your playspace
This is a basic one if you’re a VR aficionado, but if you’re new to VR, thinking about your playspace is an important first step. VR is more fun when you have some room to move around, so I’d recommend finding the biggest open space in your house, shoving some furniture out of the way if you have to, and then setting up your guardian system.
One of the key new features of the Meta Quest 3 is its mixed reality pass-through ability. But, it’s no secret that the pass-through cameras struggle in low light conditions. For the best bixed-reality (MR) experience, I’d recommend choosing a well-lit space, ideally with lots of natural light. If that’s not possible, turn on as many lights as possible to get a clearer image from the cameras. This will also help with tracking accuracy.
2 Turn on hand tracking
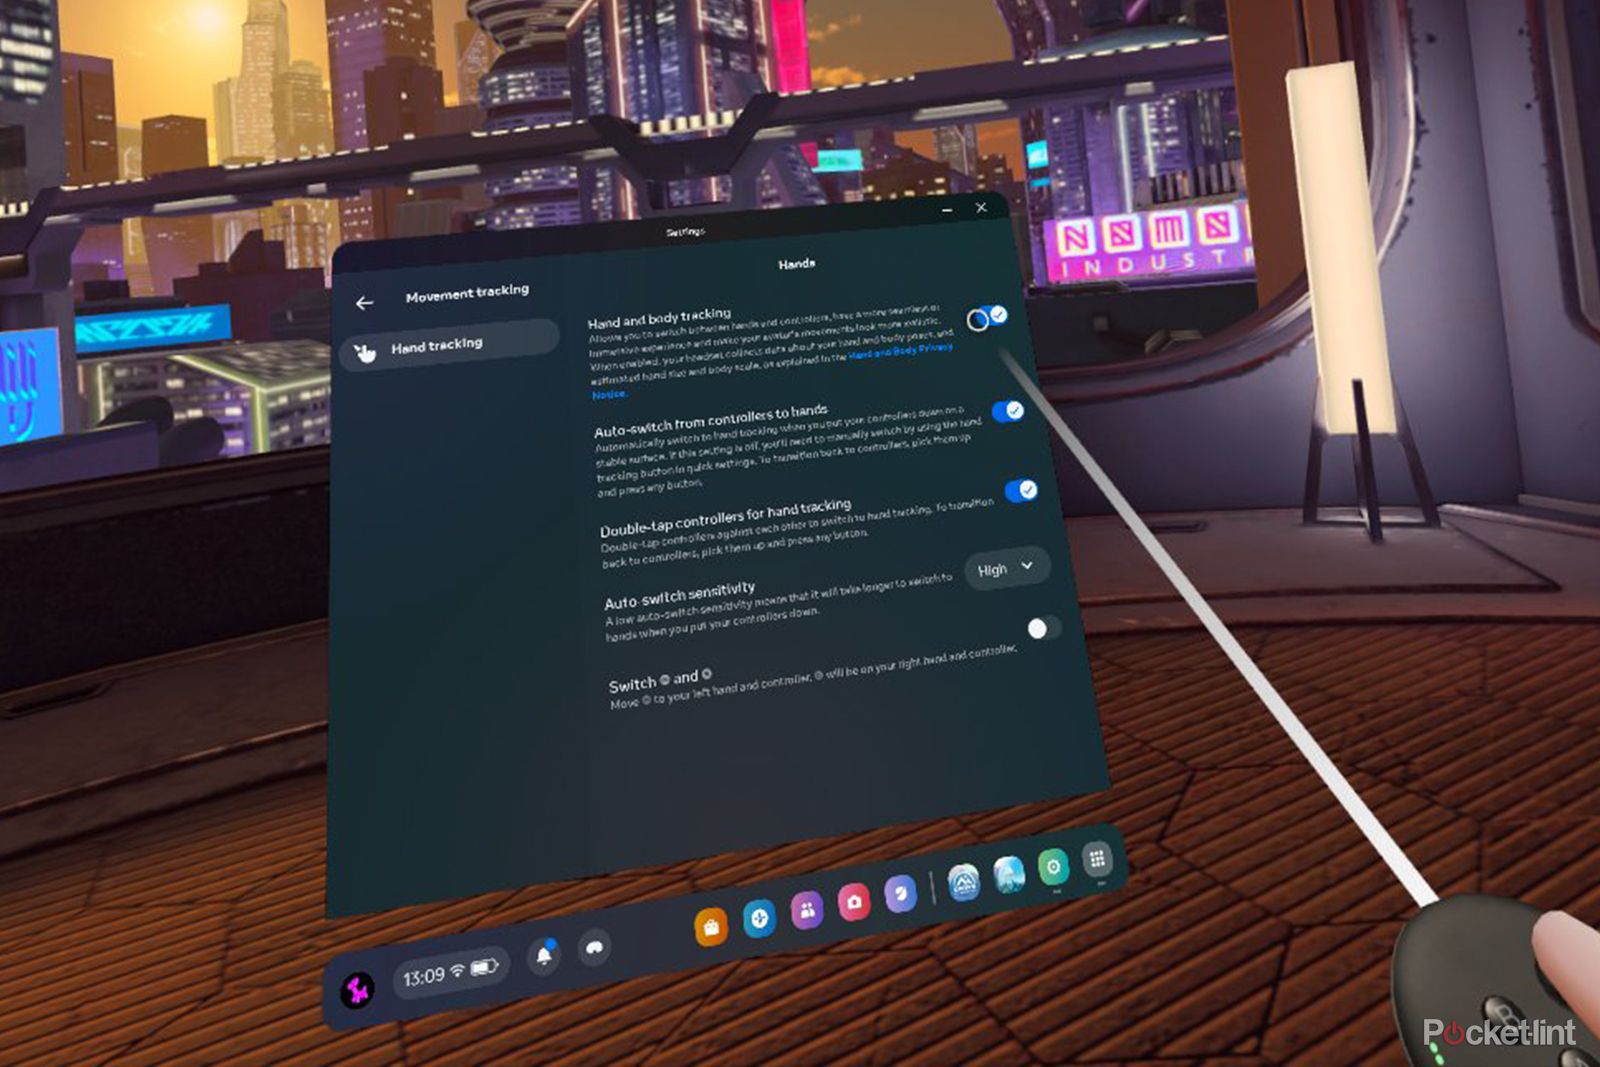
Hand tracking has also been greatly improved on the Quest 3, but depending on how you set your headset up, it’s likely not enabled by default. I’d recommend turning it on, even if you’re not planning to use it very often, as the headset can now track your hands and controllers simultaneously. It’s great when you need to make a quick change and don’t have your controllers at the ready.
To turn it on, press the button with the Meta logo on your right-hand controller to bring up the menu. Then, select the Settings icon and go to Movement Tracking in the resulting menu. After that, you’ll see an option for Hand and body tracking, click the toggle next to that to enable it.
Once enabled, the headset will show you some instructions detailing how to use hand tracking. You can point at an object just like you would with a controller and pinch your thumb and forefinger together to select something. You can also swipe and tap your way through menus as if you were using a tablet. It’s super handy and much easier than pinching if you’re in a hurry.
3 Maximize your battery life
For all the things the Quest 3 upgrades, one area that hasn’t seen much improvement is the battery life. If you want to get the longest playtime from the headset, you’ll need to limit your pass-through camera usage, which is one of the biggest draws on the headset’s comparatively small battery. One way to do that is by simply toggling Passthrough off in the Quick Settings you can access at any time by pressing the clock on the left side of the universal menu.
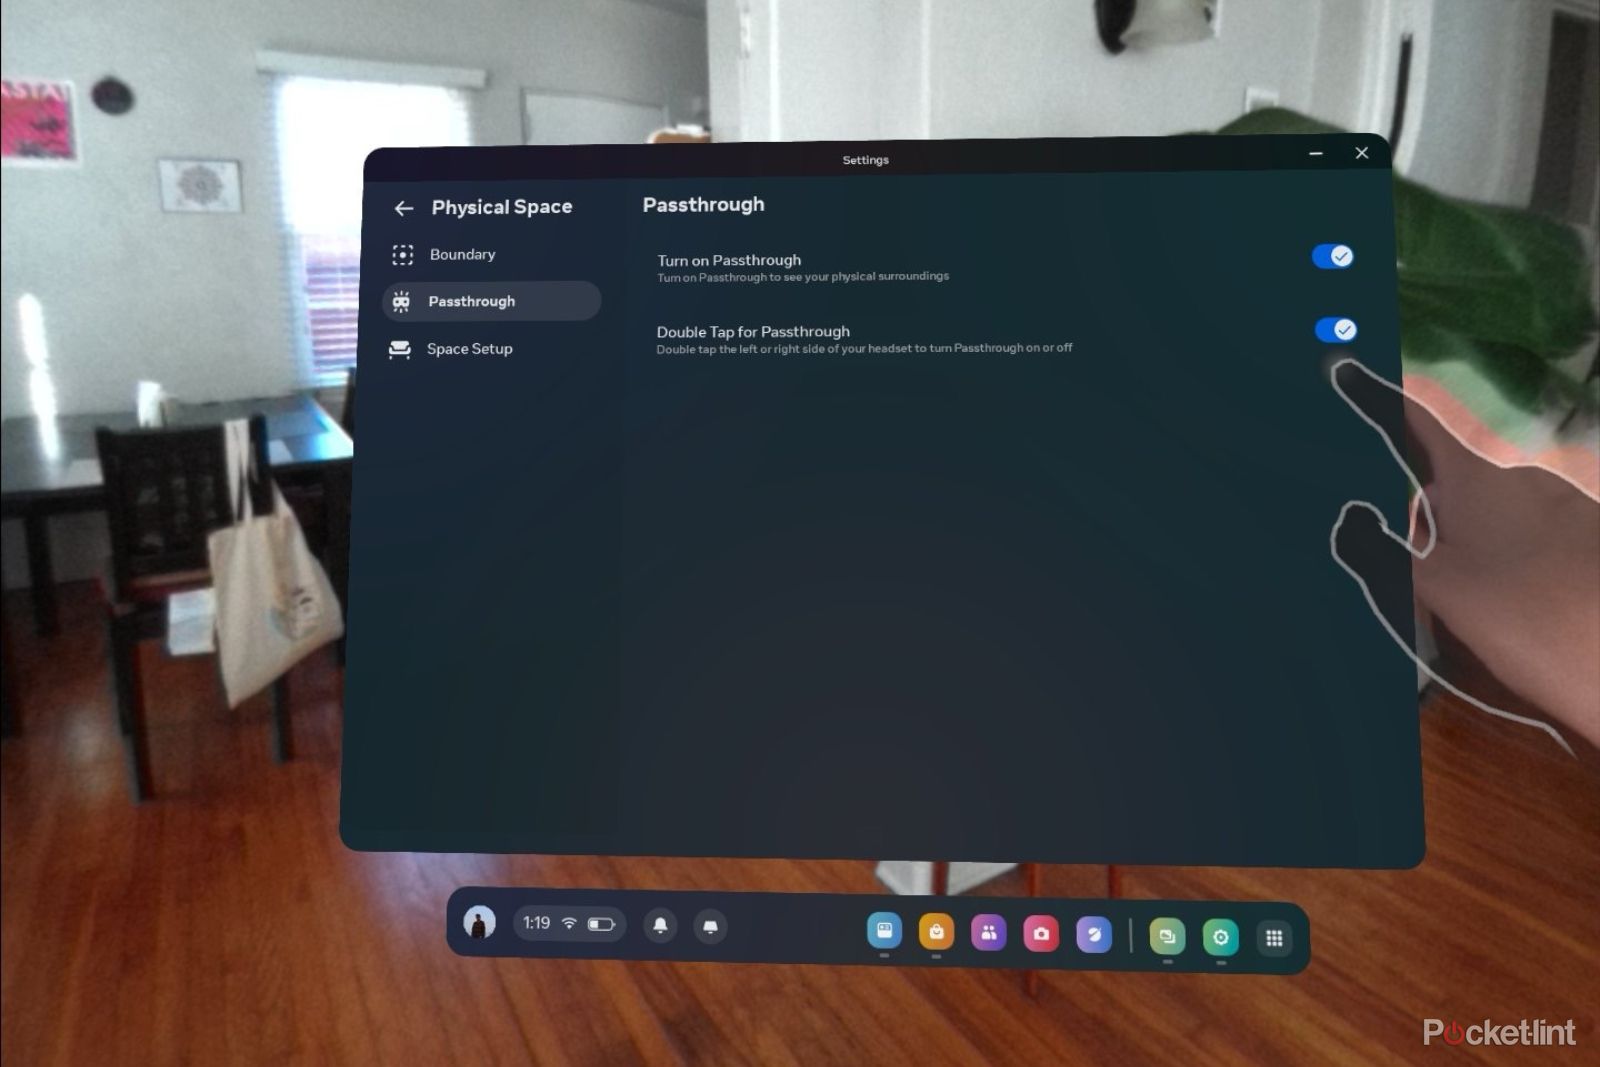
For an even faster way in and out of the full-color view of the room around, try setting up a double tap shortcut. First, press the clock in the universal menu to pull up Quick Settings, then select the Settings button in the top right with the “gear” icon, then press on Physical Space, and then press on Passthrough on the left-hand side. In this menu you should see a toggle for Double Tap for Passthrough. Toggle that on, dismiss the simple tutorial your Quest 3 shows you, and you should be good to go. By default, Quest 3 starts in mixed-reality mode, but if you know you’ll be spending lots of time in the menus or generally need to save on battery, just double tap the side of your headset to switch to a more traditional VR environment.
Another option to consider is Meta’s Extended Battery mode. Not unlike Low Power Mode on an iPhone or Apple Watch, Extended Battery Mode adjusts features like screen brightness, resolution, and framerate to extend the battery life of your quest 3. You’ll lose out on quality, but be able to stay virtual or mixed-reality for longer. To enable the feature, go to Quick Settings from the clock on the universal menu, select Settings, and then select System. From there you’ll want to find Power on the sidebar on the left. Then toggle on Extended Battery Mode to start slowing battery drain.
Of course, if you have a decent USB power bank, you can stick that in your pocket and run a cable to the headset for extended playtime, too. If you’re willing to spend a bit of cash, there are also numerous accessories designed to extend the battery life of the headset, some of which we’ll cover later in this article.
4 Share the experience
VR and MR are great activities at a party, not least because people look absolutely ridiculous while they’re doing it. However, it’s a lot more fun when you can see what the player sees, so it’s worth learning how to cast the Quest 3 to a TV.
It took me a moment to figure out where this setting is, but it’s super easy to use once you find it. All you need is the Meta Quest app on your phone and a TV that supports casting or has a Chromecast connected.
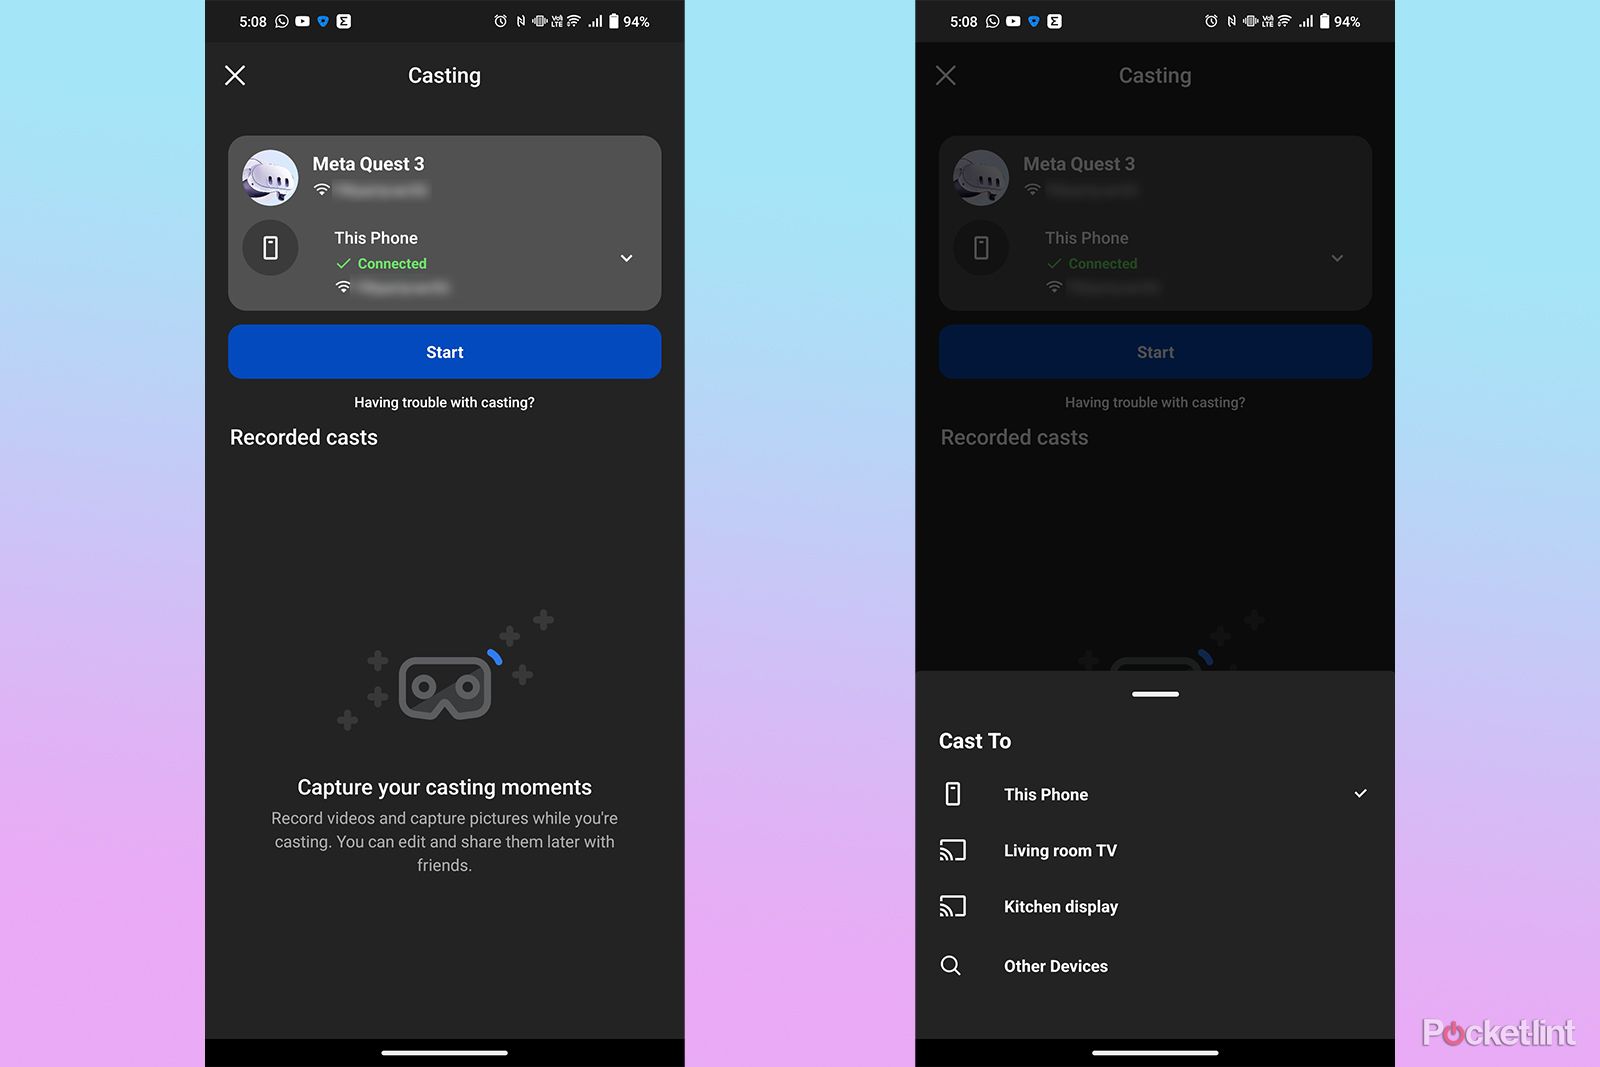
With the headset and TV turned on, open the Meta Quest app on your phone and tap the Cast icon at the top of the home feed. By default, it will want to cast to your phone, so tap on the down arrow and then choose Other Devices. It will take a moment to scan your network, but then you should see a list of compatible displays, tap the one you want, and off you go.
Alternatively, you can open the camera app in the Quest 3 headset, and there’s a cast menu found there, too.
5 Save yourself from hunting and pecking
Thankfully, playing games or using apps in mixed-reality doesn’t require a lot of typing, but when you’re looking for your next game in the first place or sending off a quick message, there are a few solutions that are better than the Quest 3’s default keyboard. The first, and most visible, is voice dictation. Any place the Meta Quest keyboard pops up to enter text into a field, you can click the Microphone icon to start voice dictation. It’s not as good as the voice dictation on modern smartphones, but it’s pretty good in a pinch, and far faster than slowly typing one key at a time.
The other option is the Swipe Keyboard. With the Swipe Keyboard enabled, you can swipe through letters on the keyboard rather than type them out individually, making it a bit easier to get through a message or a search with one hand. It’s experimental for a reason, though — it’s still pretty easy to make mistakes. To enable it, pull up Settings, select Experimental, and then scroll to the bottom and toggle Swipe Keyboard.
6 Get apps and tabs open before you strap in
For the most part, the Quest 3 is speedy enough that you don’t have to wait long to load up a game or webpage, but if you want to save yourself even more time, you can not only launch games from your smartphone, so they’re already loaded when you put on your headset, but send link there too.
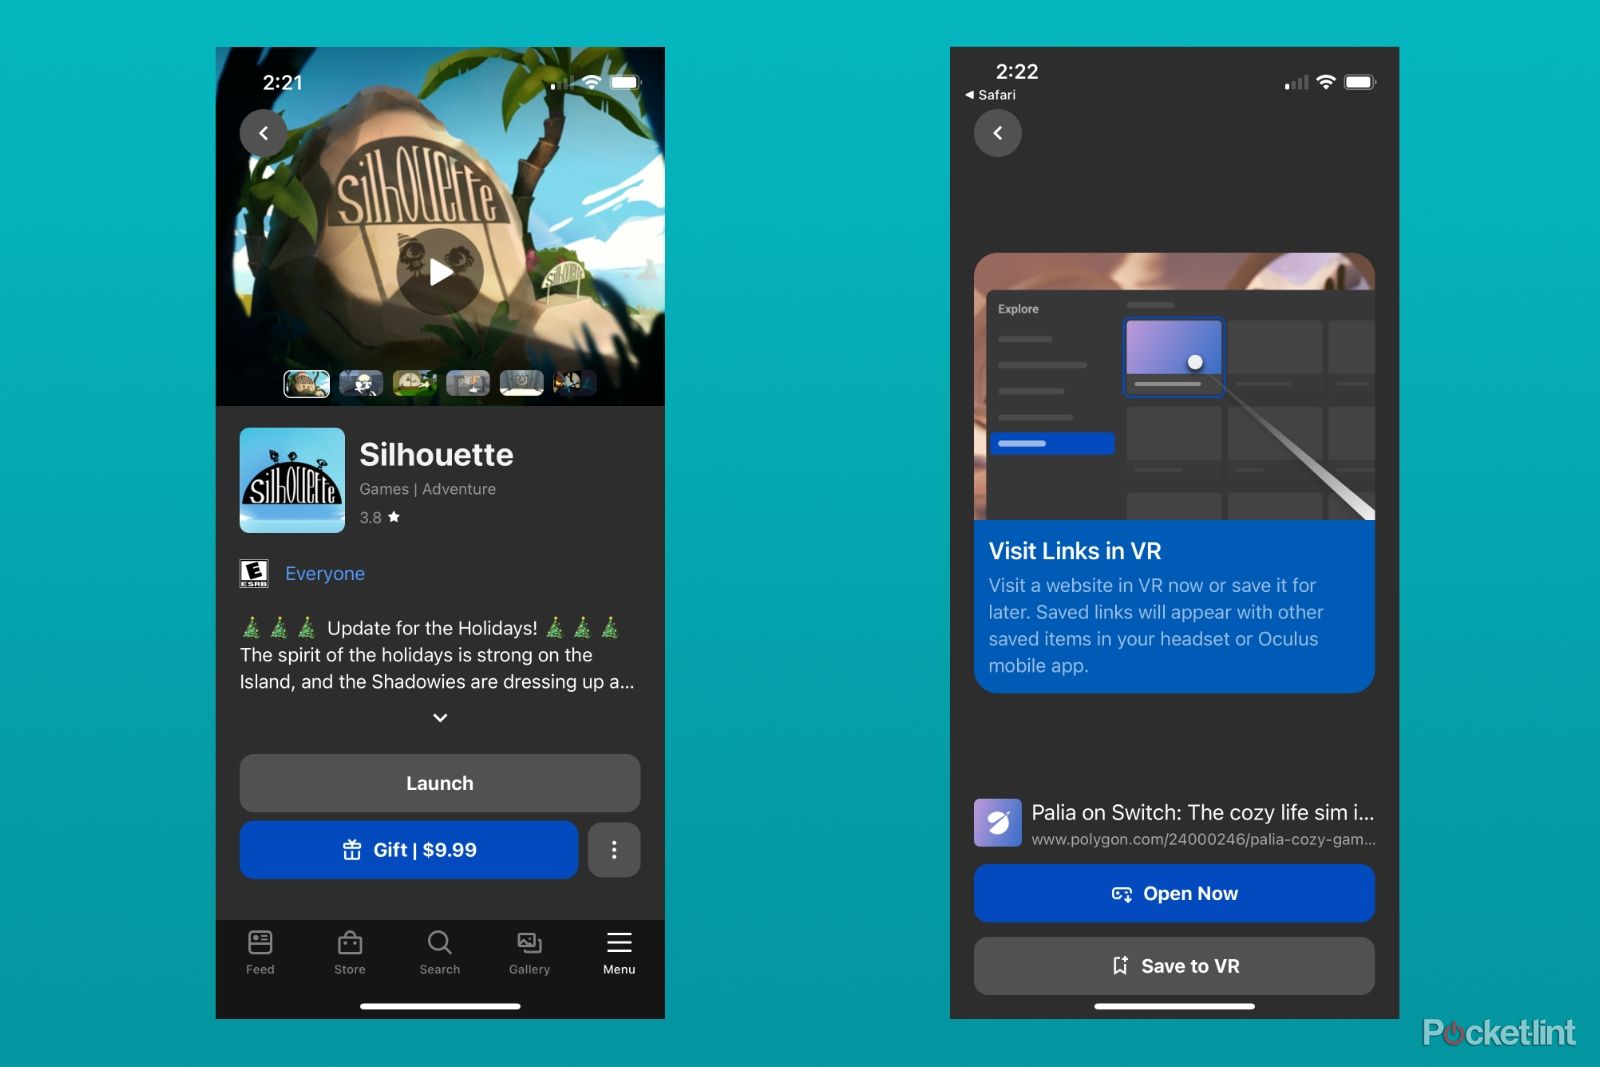
To launch an app from your phone, first make sure you have the Meta Quest app on your phone. Once you do and you’re logged in, select Menu from the bottom bar. Then scroll down to My Library, select it, and find the game you want to launch. From the game page, all you have to do is press Launch and if your headset is on, it’ll start loading it so you can hop right in when you put your headset on.
For webpages, you can actually share links to the Quest 3’s browser from the share sheet on your phone. With the Meta Quest app installed on your phone, anytime you find a webpage URL on your phone’s browser you want to share, just pull up your share sheet — on Safari on the iPhone it’s the arrow icon in the center of the bottom bar — and select to share with the Meta Quest app. From there, you’ll be given the option to open the URL on your headset or bookmark it for later.
7 Upgrade your comfort
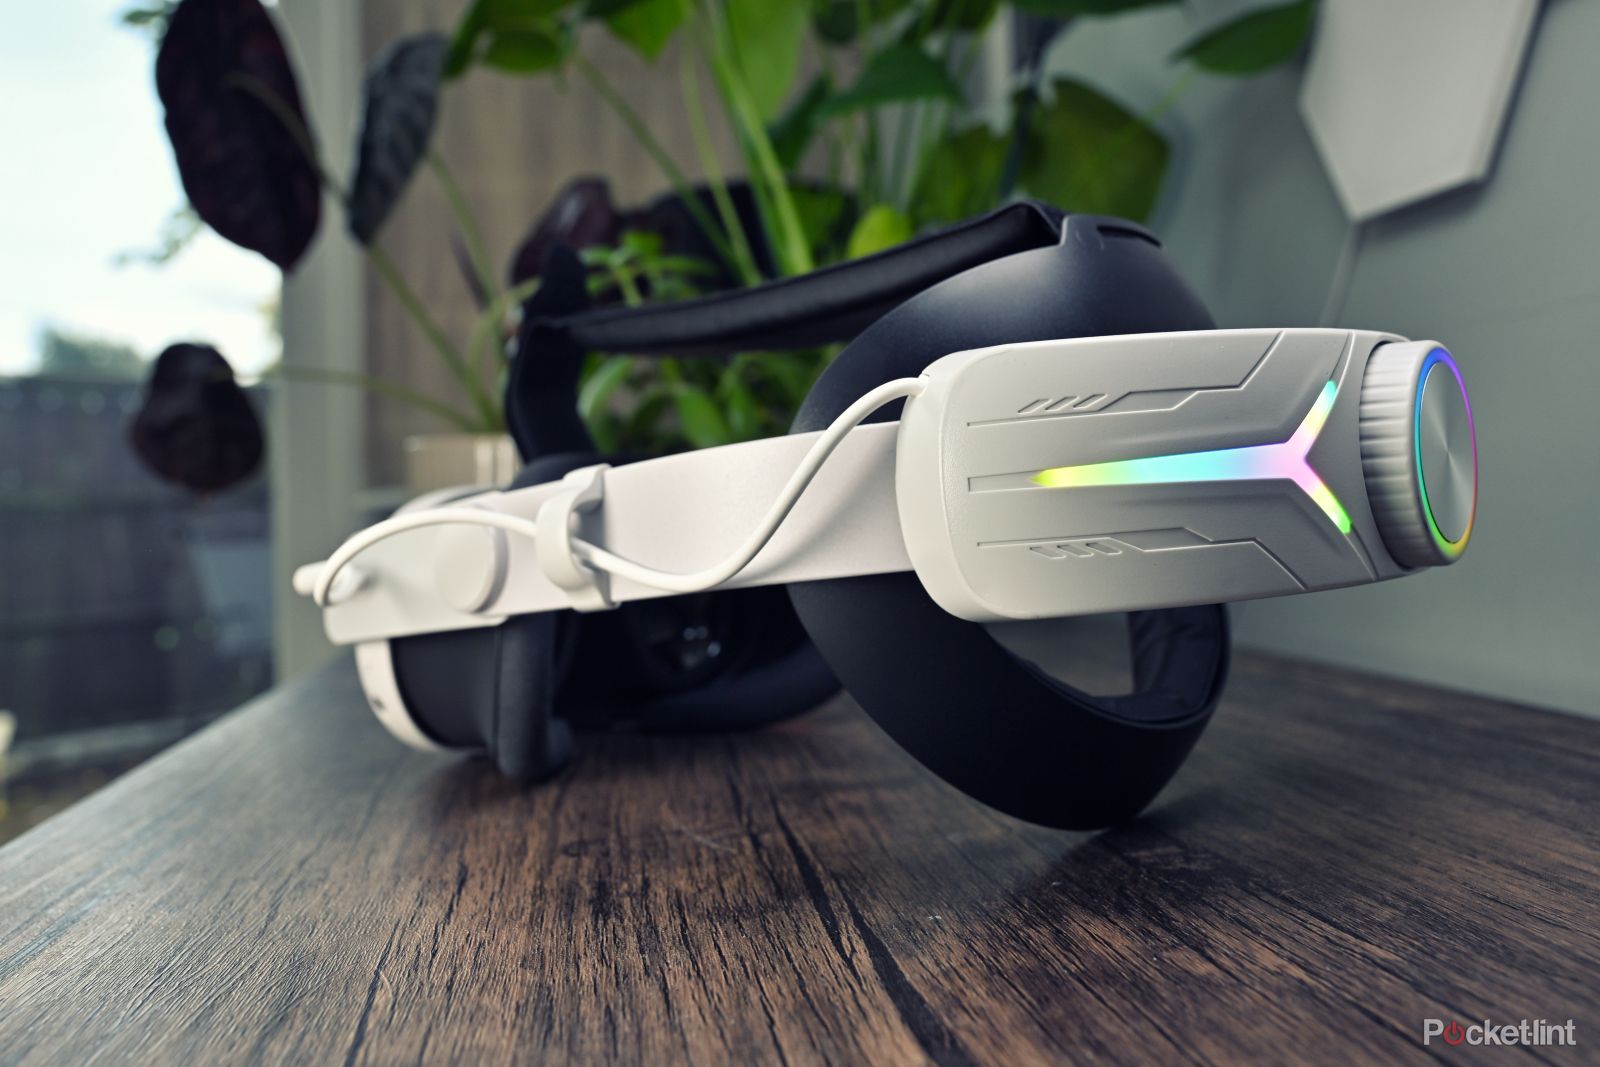
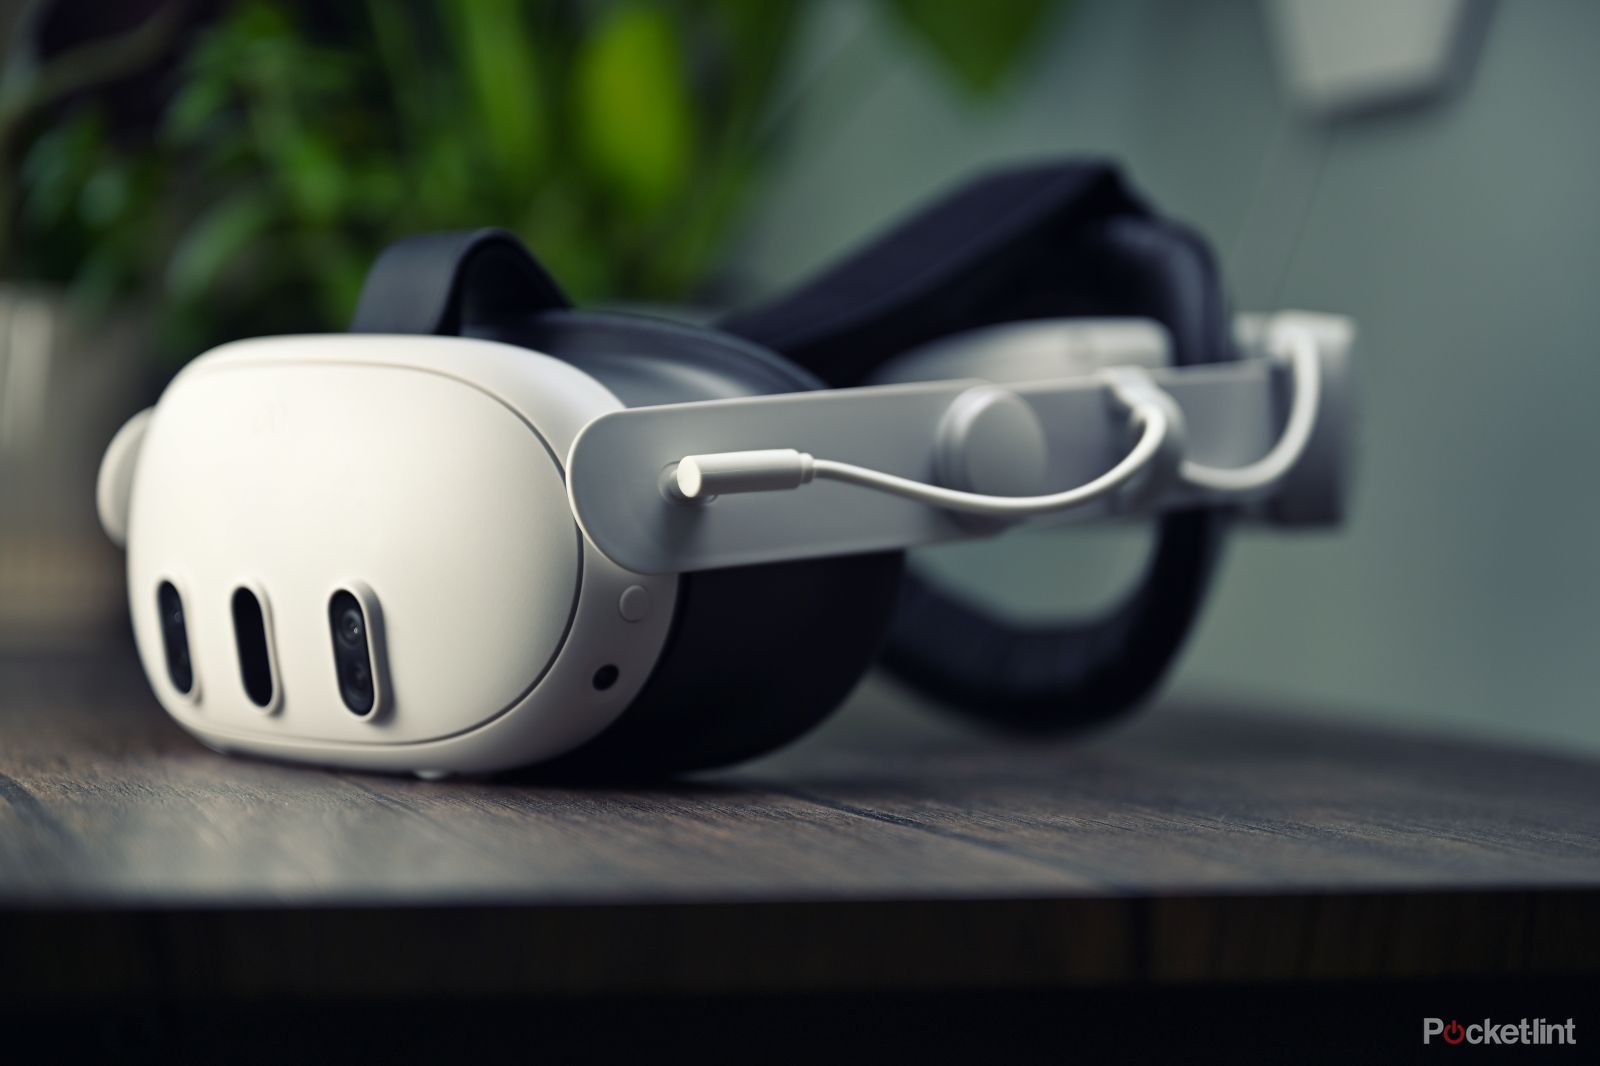
The Quest 3’s included head strap is decent enough to get started, but after a while, you’ll probably want to invest in something a little more comfortable and convenient to remove. The obvious choice is Meta’s own Elite Strap, which retails for $70, but a more interesting option is the Elite Strap with Battery, which has an integrated power bank at the rear that both serves to balance the headset weight across your head and also keeps it charged for an extra two hours of playtime. It’s quite a costly upgrade at $130, though.
There are also numerous third-party options available that do the same thing. I took a gamble on a head strap from a brand I had never heard of, Orzero, and it has been excellent so far. It’s a massive upgrade in terms of comfort and it packs a larger battery than the official option from Meta. It even has integrated RGB lighting to make your headset look even more futuristic. The biggest difference, though, is the price. It’s only $60 on Amazon. An absolute bargain.
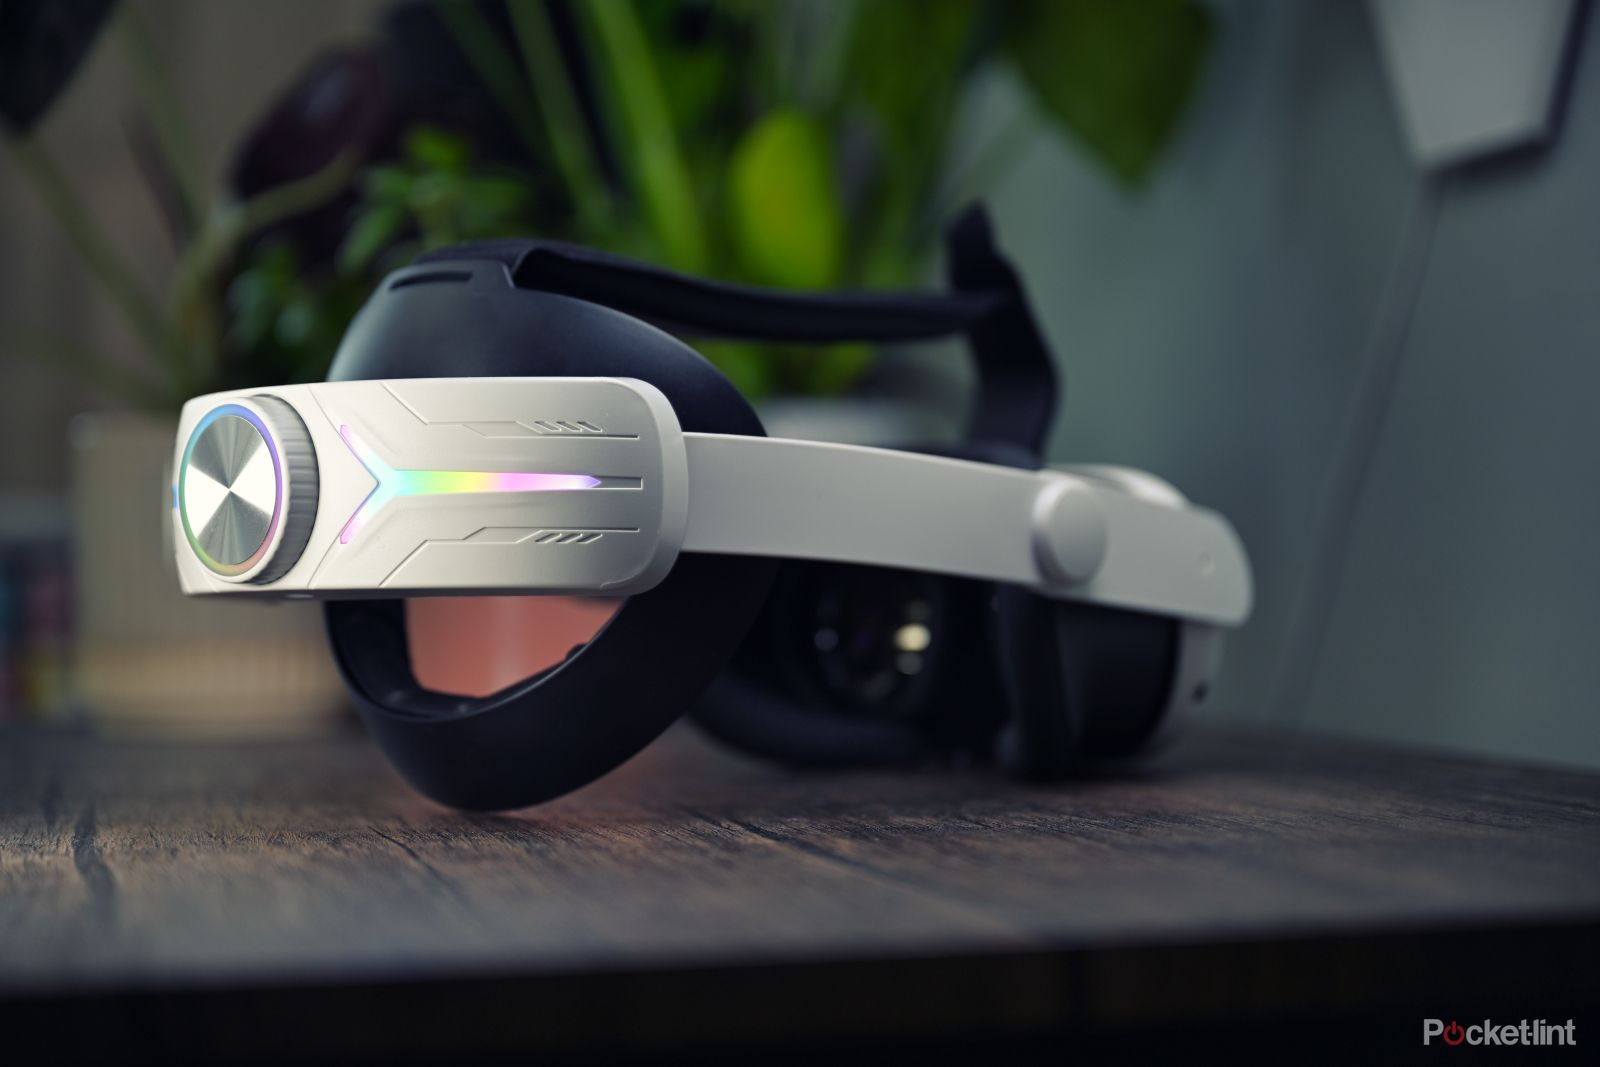
Orzero Quest 3 Head Strap 8000 mAh
8 Upgrade your audio
It’s a similar story when it comes to the Quest 3’s audio quality. The built-in speakers are great, and certainly a marked improvement over the Quest 2 speakers, but for ultimate immersion, you’ll want to use some decent headphones. Unfortunately, it’s not just a case of pairing your AirPods, as even though that will work, there will be noticeable latency that ruins your immersion.
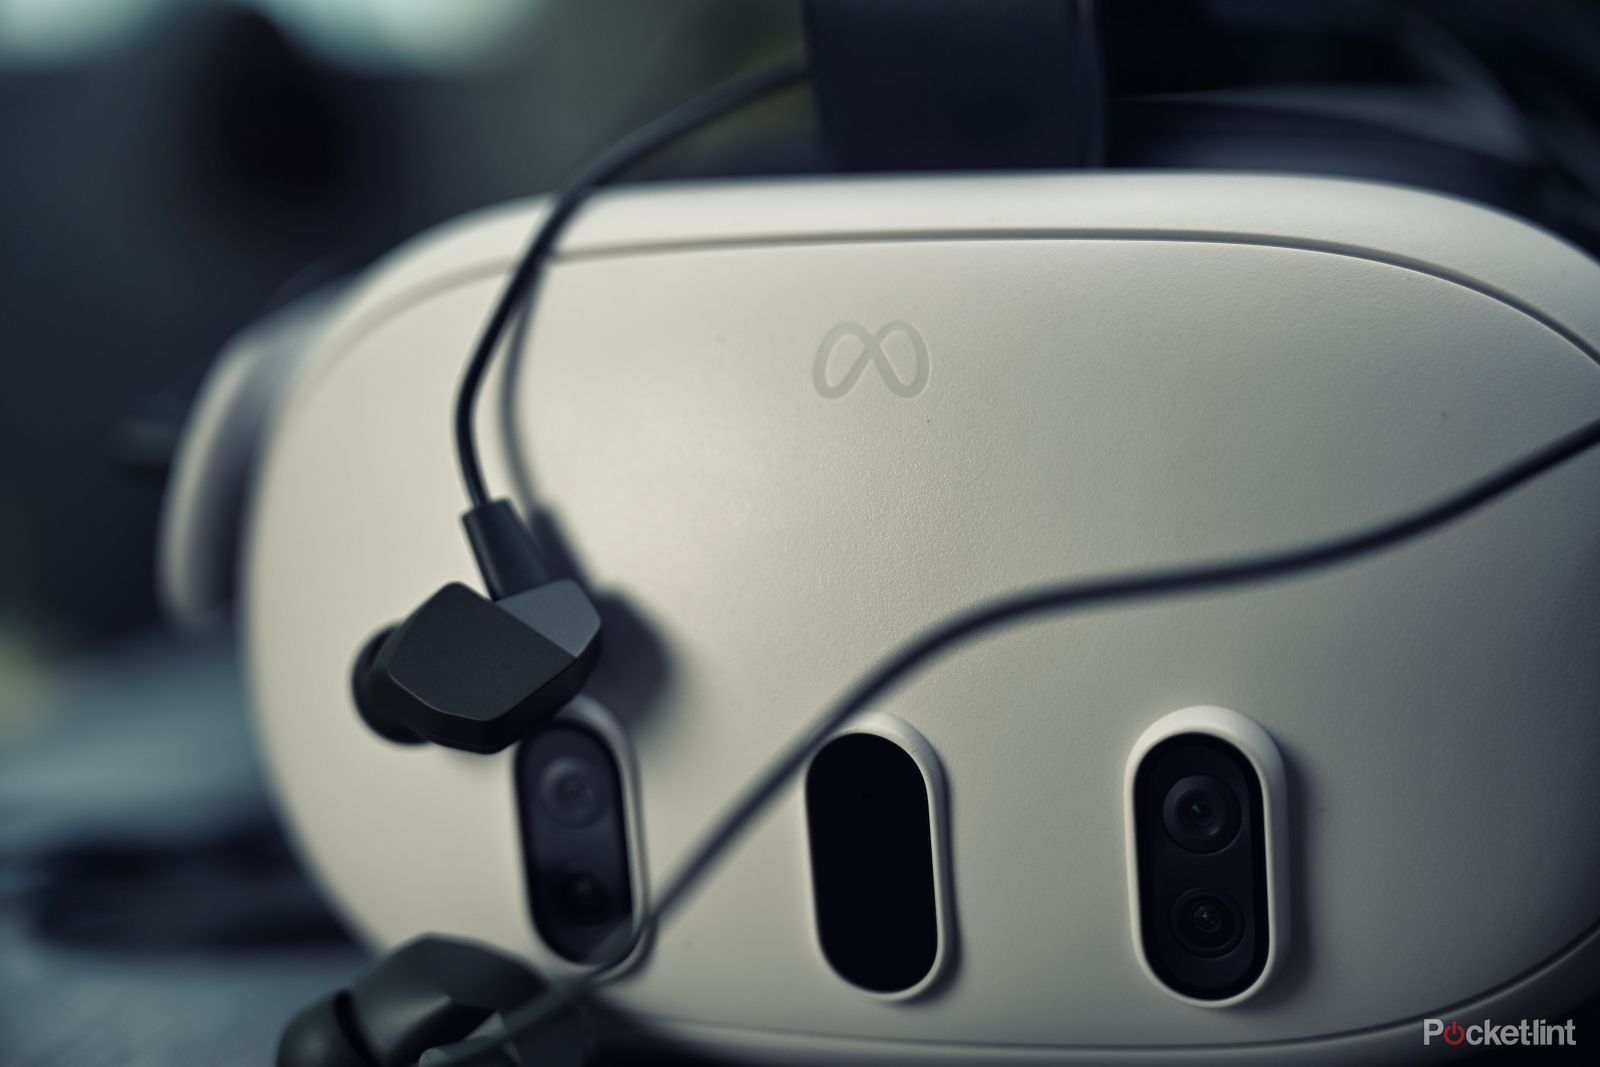
Instead, you have two options. You can either use a set of wired headphones, or you can use a purpose-built set of gaming earbuds that utilize a USB-C dongle for a low latency wireless link. There’s plenty to choose from, but if you want a wireless solution, I’d recommend looking at the SoundCore VR P10 earbuds, which were developed in collaboration with Meta.
I’ve been using Final Audio’s new VR2000 wired earbuds, personally. These earbuds are optimized for positional accuracy and spatial audio, and they’re the most convincing that I’ve heard. When using these earbuds, game elements really sound like they’re in the room around you. It’s incredibly immersive. They’re affordable, too, retailing for just $70. The downside is that you’ll have to figure out what to do with all the cabling, but it’s nothing a tidy velcro cable can’t fix.
9 Connect to a gaming PC
If you have a gaming PC, you can also connect up your Quest 3 and use it to play PC VR titles, just as you could with the Quest 2. It works in the exact same way as it did on the last-gen headset, and we have a very in-depth guide on how to get connected, which can be found here.
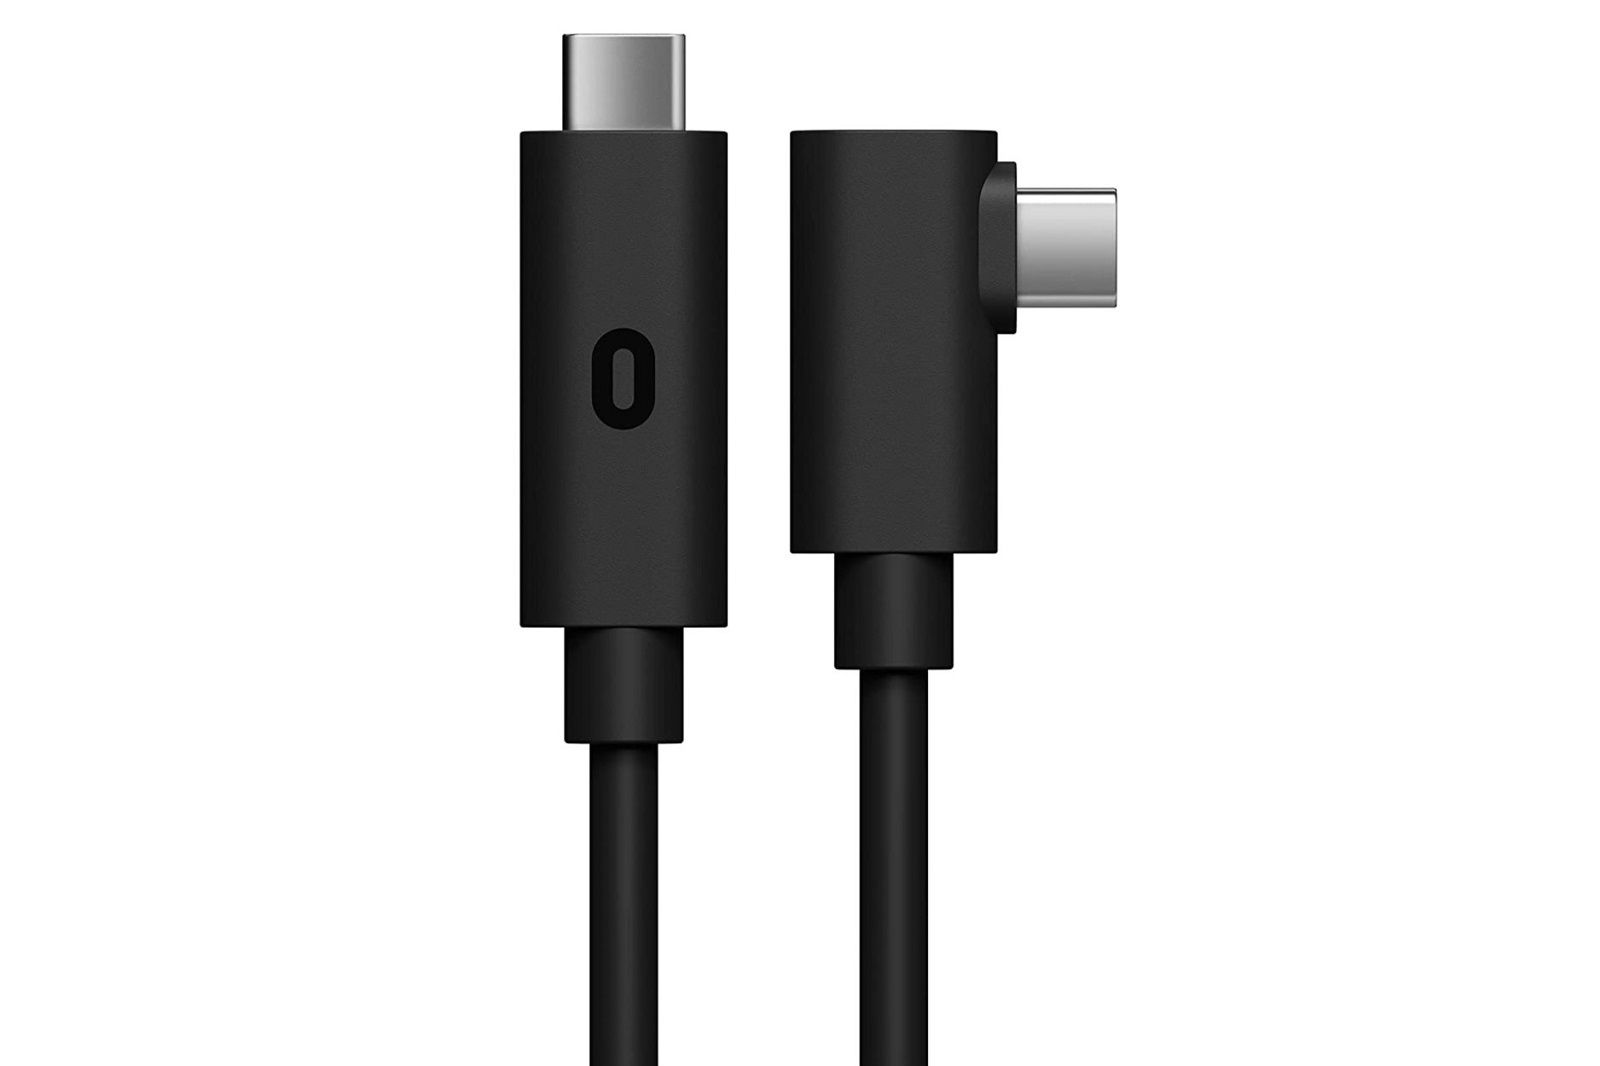
In a nutshell, though, you’ll need the Meta Quest software on your PC, and then you can either connect using a USB-C Link cable (or a suitably fast alternative) or wirelessly over your home network. If you go the wireless route, you’ll need a 5Ghz router as a minimum, but you’ll have the best results with Wi-Fi 6 and above. Alternatively, you can also use the Steam Link app to stream games from your PC to your Quest 3, but the same network recommendations apply.
How to stream movies and TV shows on your Meta Quest 3 and Quest 2
A Quest headset isn’t just for playing virtual reality games, it also offers you the ability to have a solitary movie-watching experience.
10 Watch content on your Quest 3
While most of us primarily use the Quest 3 as a way to play games, it’s also a pretty great way to watch movies, TV shows and online content. It’s a great option if you find yourself without access to a quality TV screen, as you can project a massive virtual screen anywhere in MR, or you can enter your own private movie theater in VR. It also works great with 3D movies, if you can find any of those.
Bigscreen
There are numerous ways to go about this, Prime Video, Netflix and YouTube all have their own apps that can be installed through the Quest Store, for example. One of our favorites is the Bigscreen Beta app, which has lots of great virtual environments and the ability to view your PC screen, YouTube, local video files and live TV in VR. There are also social elements to the app, so you can watch things in VR with your friends no matter where they’re located.
Trending Products

Cooler Master MasterBox Q300L Micro-ATX Tower with Magnetic Design Dust Filter, Transparent Acrylic Side Panel…

ASUS TUF Gaming GT301 ZAKU II Edition ATX mid-Tower Compact case with Tempered Glass Side Panel, Honeycomb Front Panel…

ASUS TUF Gaming GT501 Mid-Tower Computer Case for up to EATX Motherboards with USB 3.0 Front Panel Cases GT501/GRY/WITH…

be quiet! Pure Base 500DX Black, Mid Tower ATX case, ARGB, 3 pre-installed Pure Wings 2, BGW37, tempered glass window

ASUS ROG Strix Helios GX601 White Edition RGB Mid-Tower Computer Case for ATX/EATX Motherboards with tempered glass…


